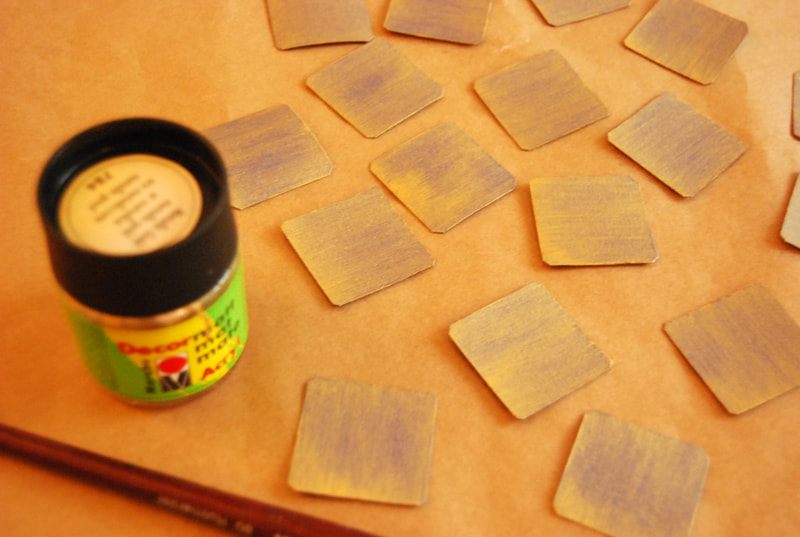
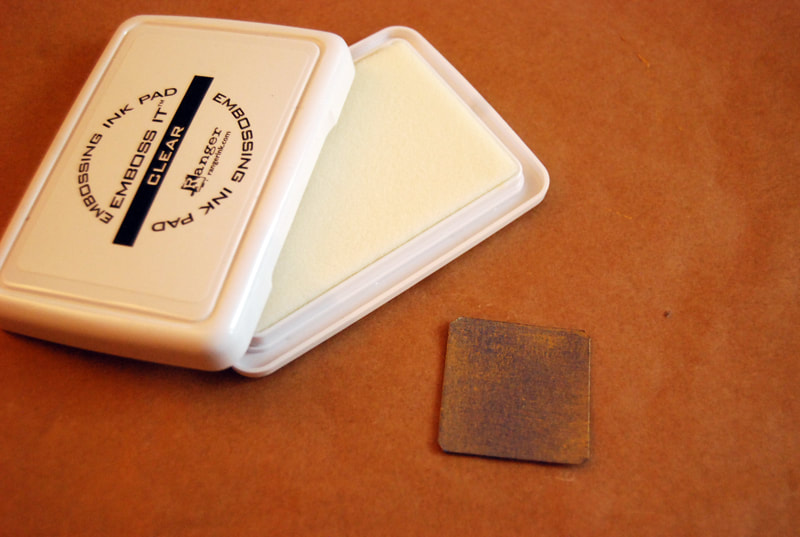
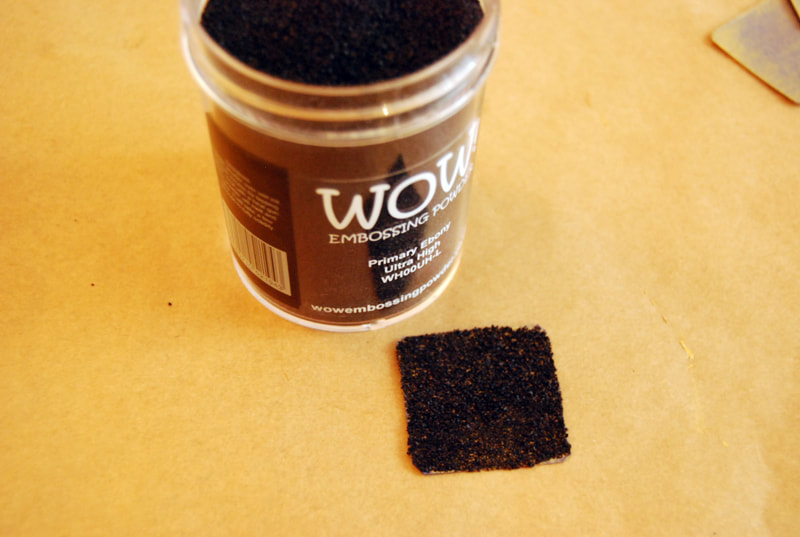
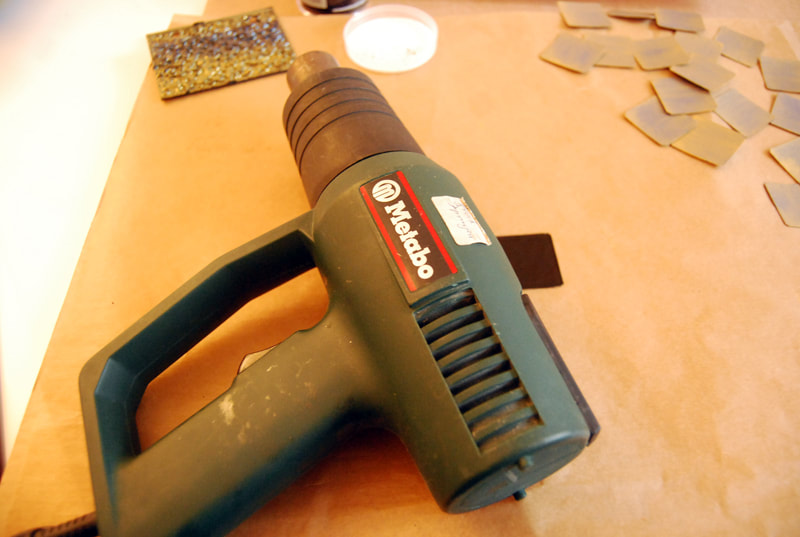
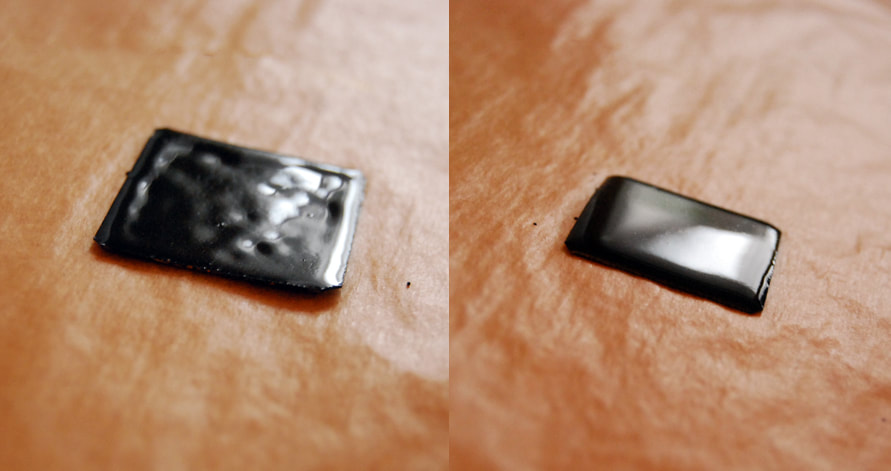
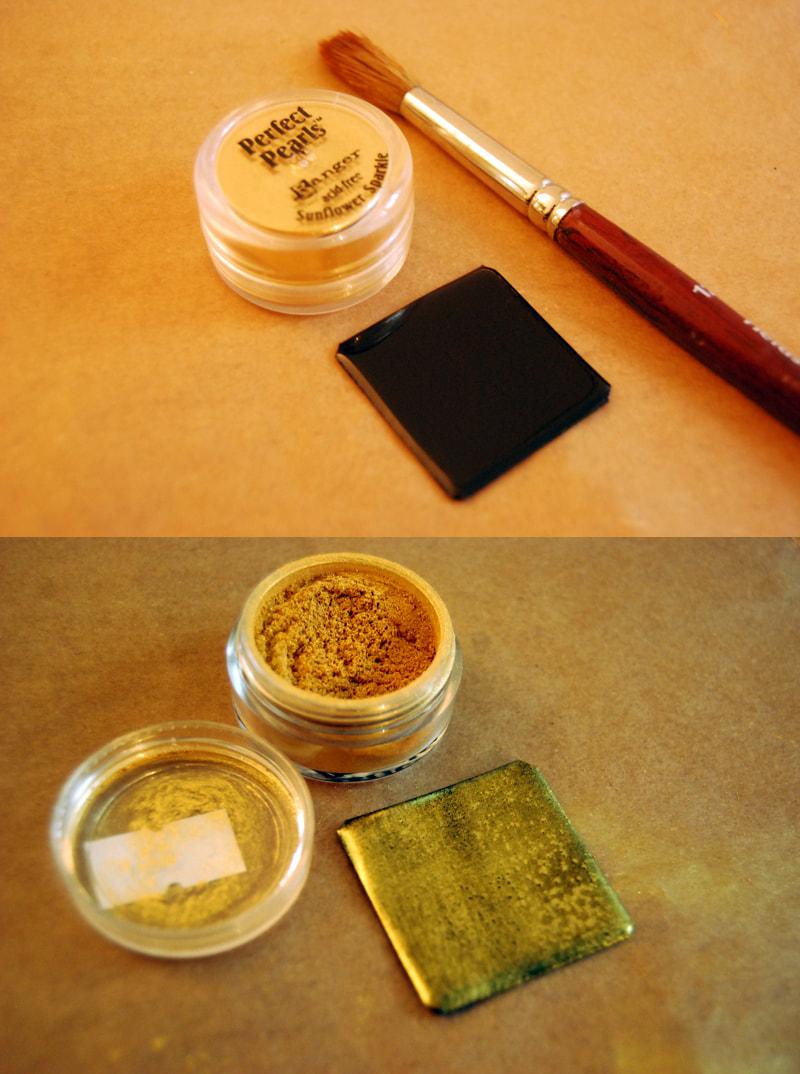
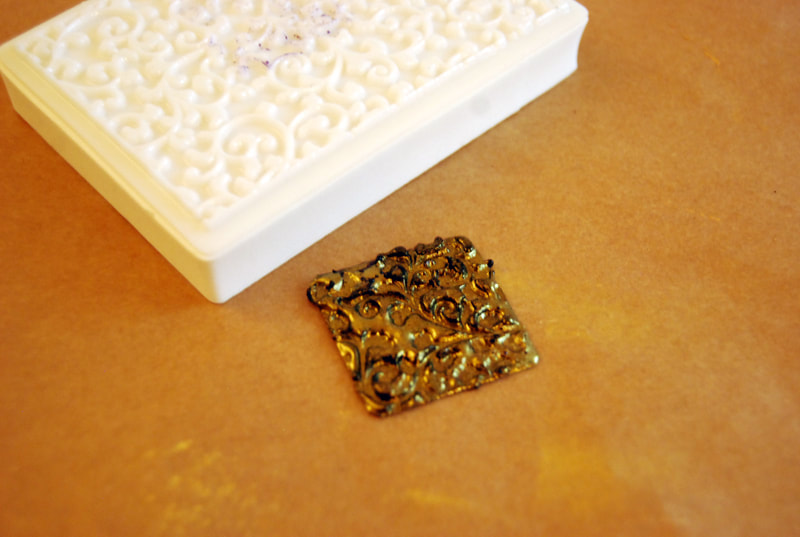
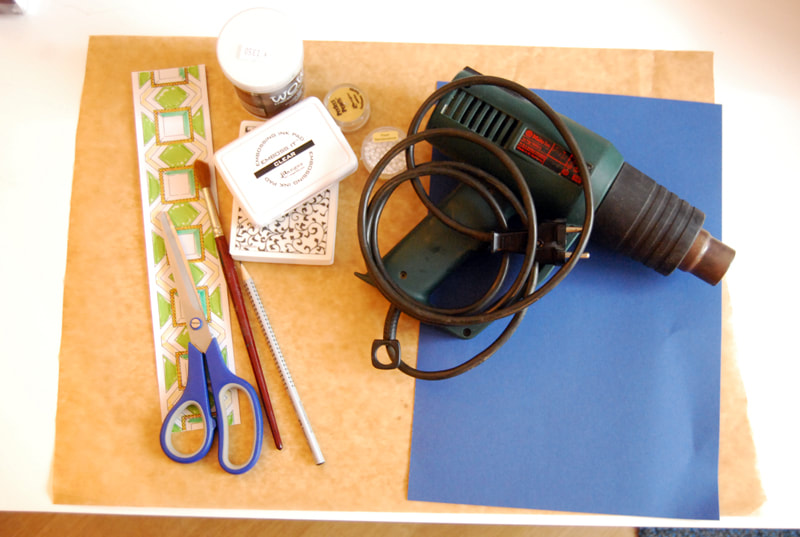
 What Materials do you need: - Paper / Paperboard (or laminated Paper) - Brush / Pens / Scissors - Heat Dryer - Acrylic Paint / Varnish - WOW! Embossing Powder - Embossing Ink Pad (or something like that) - Stamp as planned (usually for Embossing Powder) - On Request: Perfect Pearls - Colorpowder - Baking Paper as a Base for quick and easy Work STEP 1 Draw the Shape you want on your Paper and cut it out. Tip: You can't often cut the Paper after. It is important to have everything in the exact Shape before you start with the Powder. STEP 2 Paint your Paper with Acrylic or Varnish to get a "waterproof" Underground.Just one ore two Layers are enough. If you have laminated Paper, you don't need this Step! STEP 3 Press the Ink Pad on your Paper (or the other Way). It must be sticky and wet. STEP 4 Now sprinkle the first Layer "WOW! Embossing Powder" on the sticky Paper. Tip: You can use a bare Paper placed under it. Fold it once in the Middle and after you're done pour your Powder back into your Box. STEP 5 Heat the Powder with the Heat Dryer. You should be a Handbreadth away with the Dryer. You can see exactly how the Powder melting and begins to get a smooth Surface. EVERY Layer is repeated in this Way! STEP 6 For a simple Enamel, you can do this 1 to 2 times. If you want to impress a Pattern, you will need 2 to 3 Layers of Embossing Powder to recognize the Pattern well. Here's an Example: 1 Layer and 3 Layers are in the Pictures. STEP 7 Each "WOW! Embossing Powder" and every "Perfect Pearl-Colorpowder" have different Color Effects. Especially in Combination. Make a Test before the final Piece. I wanted a Antique Gold. For that I use black Embossing Powder and "Perfect Pearls - Sunflower Sparkle" I paint the Colorpowder with a Brush on the Surface. STEP 8 Heat it the last Time. IMMEDIATELY press the Stamp on your Shape and let cool. Only when it is cooled down, you can remove the Stamp. Your Piece with the Pattern is finished. EXTRA
To pour Gems/ to handle it like "Resin", you need the following Things: - A little old Pot or Pan - Stove or hot Plate Step 1: Heat the "WOW! Embossing Powder" in the Pot Step 2: Pour it into the Mold Step 3: Let it cool YOUR'E DONE - even if it is very tricky to handle it. Tip: You can use any Leftovers again!
2 Comments
Leave a Reply. |