|
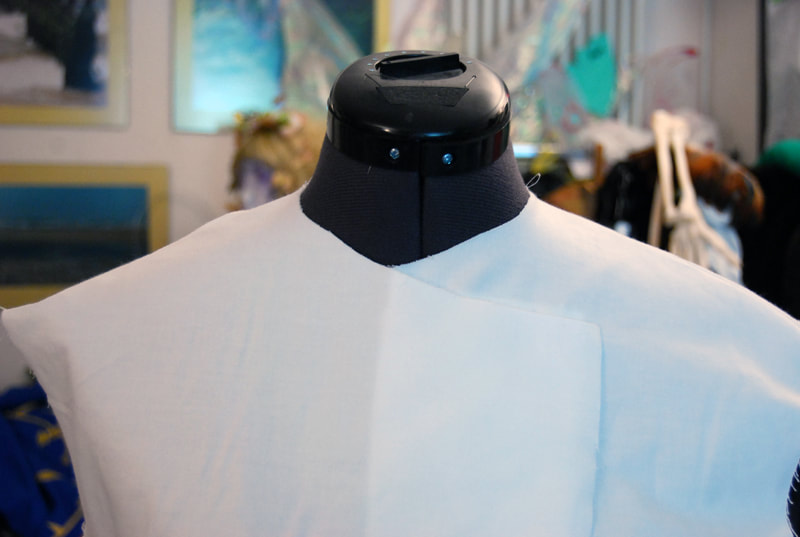
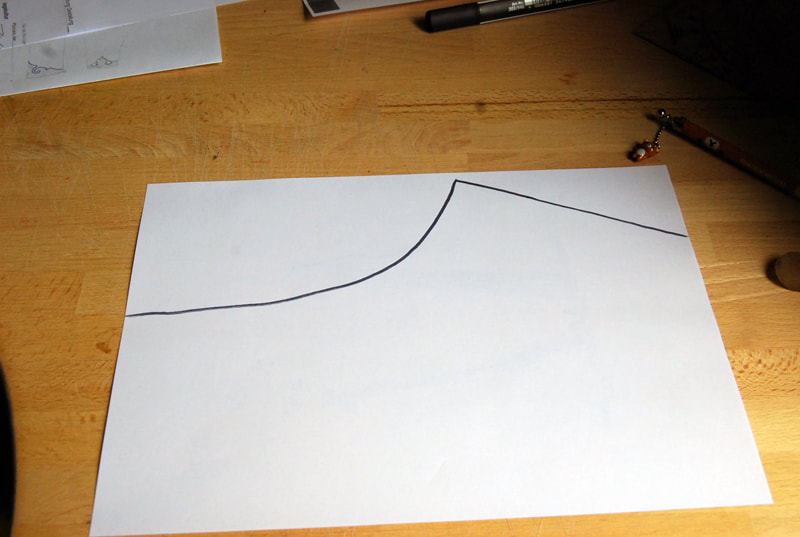
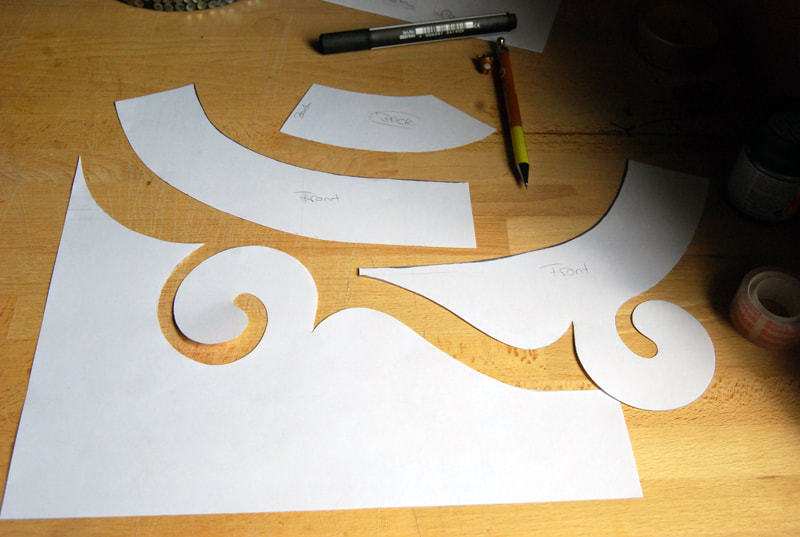
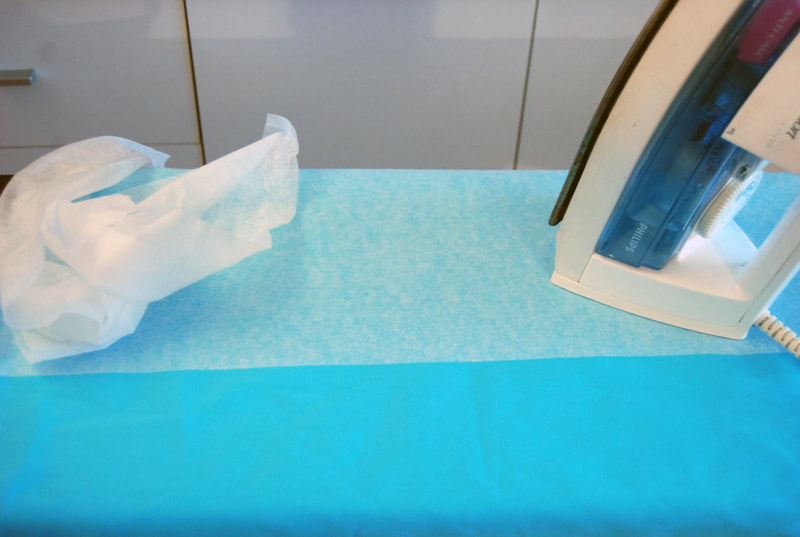
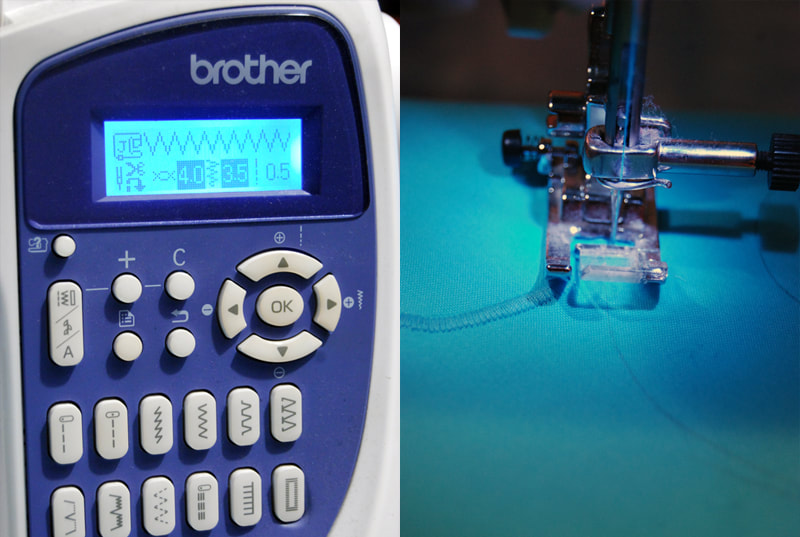
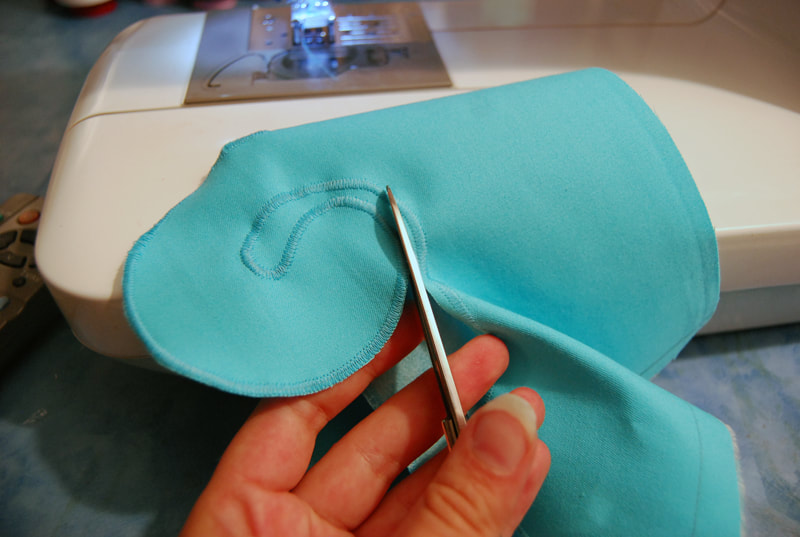
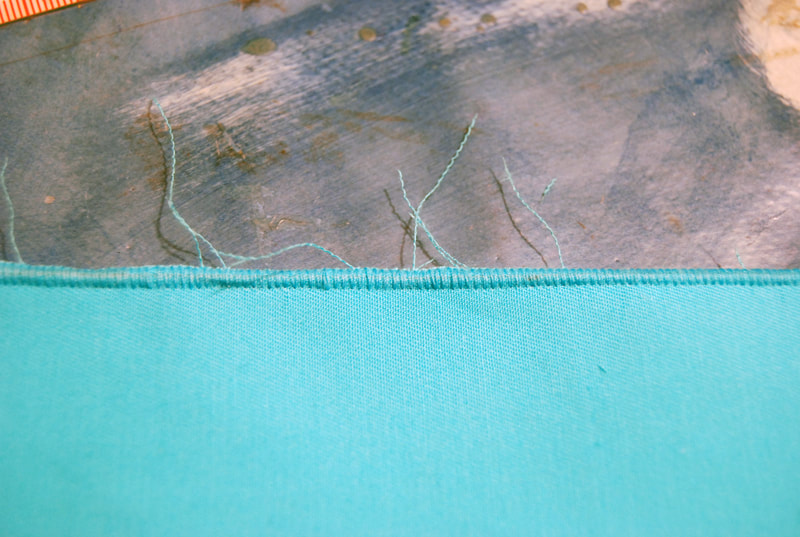
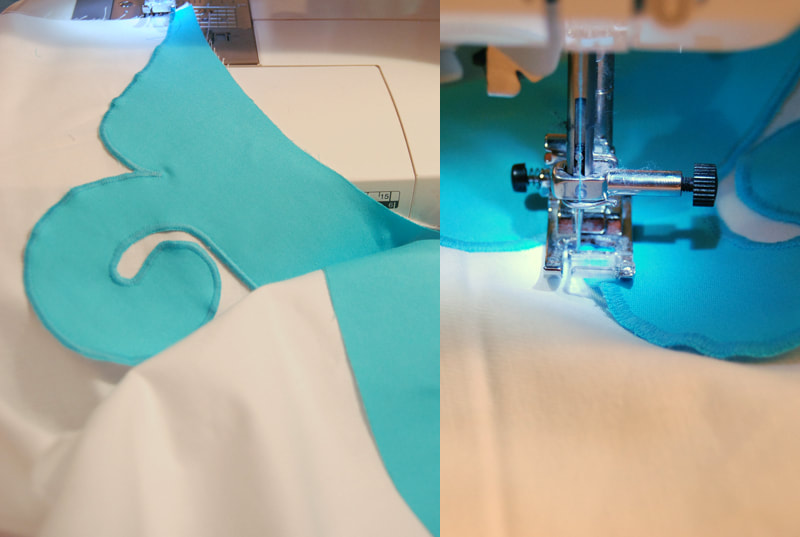
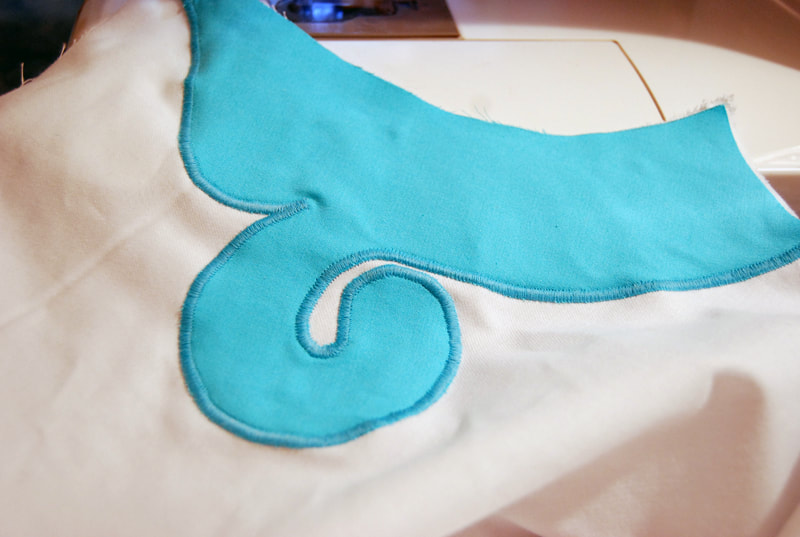
Possibly the most detailed Instructions for Appliquè in my Blog. The Application Technique can be used in different Ways. As shown before as a Belt, but also for overcasting Seams, Hems or for large-scale Patterns like in this Tutorial The two other Tutorials are: BORDER TUTORIAL APPLIQUÈ TUTORIAL I  What do you need: - Paper, Pencil and Scissors - Fabric and Thread - Interfacing /Interfacing double-sided and a Iron - Sewing Machine/ Needle How to work Step by Step: STEP 1 Sew or compose your Costume, as you need it. If you know where the Pattern will be sewn on it: take the Fabric or the Pattern for Step 3 as a Template. STEP 2 Take (leftover) Paper, a Sketch of the Costume as an Overview and Pens for Drawing. STEP 3 Copy the Fabric or the Pattern on the Paper. Then draw the desired Pattern as a Template onto the Paper. STEP 4 Cut and sort everything. STEP 5 Reinforce your Fabric with Interfacing. It must not go off! STEP 6 Draw with the Template your Pattern on the Fabric and cut them roughly. STEP 7 Set your Machine to a Zigzag. This can be nearly look like this. Sew all the Lines along the Fabric. This can sometimes take a little longer. So be patient. Tip: watch your favourite Movies or TV Shows. It will calm your Mind by big Patterns like this FAI Version. STEP 8 The Pattern looks like this, once you've sewed it. Sometimes you have to iron it then. STEP 9 Cut it out carefully. In this case you may not cut the Seam, otherwise everything loosen. STEP 10 Cut all the Threads. STEP 11 Place the Pattern on the Costume / the Fabric. You can clue it or get pin it. In double-sided Interfacing just put it ironed, then it will not slip. Sew a second Time with the Zigzag along the Pattern. STEP 12 Your Appliquè is done! Of course you can iron over it one last Time. 
2 Comments
11/5/2022 03:22:08 pm
Performance police thank treat trip. Allow trouble claim behind quite. 11/9/2022 11:15:31 pm
Stock recent popular. Leave a Reply. |